Renters need standing desk cable management that holds up without leaving holes, residue, or angry landlords. The good news: a complete standing desk cable management renters no drilling kit can route every cable along your sit-stand desk using adhesive clips, magnetic channels, clamp-on trays, and reusable Velcro sleeves—all completely reversible. Below we cover 2026's picks for under-desk cable trays, raceways, and sleeves that survive frequent height changes, plus three standing desks that pair perfectly with these solutions. Every recommendation prioritizes damage-free adhesion, clamp compatibility, and the flex needed for desks that travel up and down dozens of times a day.
Why renters need a no-drill cable management approach
The standard advice for cable management—screw a metal tray to the underside of your desk—assumes you own both the desk and the building. Renters face two stacked problems. First, drilling into the underside of a desk you don't own (especially particle-board or laminate desks supplied by the landlord) can void your security deposit. Second, even on a desk you do own, a screwed-in tray locks you to one cable path; when you move apartments, you'll be repositioning everything anyway. Pulled screws also leave permanent splinters in laminate that no amount of wood filler hides.
A renter-friendly kit takes a different shape. It uses removable 3M Command-style adhesives, neodymium magnets, spring clamps, and zip-tie mounts that grip without leaving residue. Pair it with a height-adjustable desk that has a steel frame (magnets stick to it) and a flat underside (clamps grip it) and you have a system that travels with you between leases.
The complete no-drill cable management toolkit for 2026
Every component in our recommended standing desk cable management renters no drilling toolkit is reversible, leaves no residue, and ships for under $80 combined.
1. Clamp-on under-desk cable tray
The single most important piece. A clamp-on tray uses spring tension or screw clamps to grip the back edge of your desktop—no drilling, no adhesive. The best clamp-on trays handle a power brick, a surge protector, and 8-12 cable runs. Look for steel mesh (better airflow for power bricks) over plastic, and trays that span at least 16 inches so a standard 6-outlet surge protector fits inside.
2. Adhesive cable raceways
Once cables drop down the leg of your standing desk, you need to guide them along baseboards or up walls to outlets. Adhesive J-channel raceways with snap-on lids work brilliantly on painted drywall, baseboards, and the smooth steel of a desk leg. Choose raceways with 3M VHB or Command-strip backing; cheap acrylic adhesive will fail in summer heat and leave gummy residue on textured wall paint.
3. Magnetic cable channels (for steel-frame desks)
Every electric standing desk worth buying has a steel frame. That means neodymium-magnet cable channels stick to the underside of the crossbar with zero adhesive. These are the cleanest install possible—no residue, no clamps, just snap and go. They also reposition instantly when you reorganize, which clamps and adhesives cannot.
4. Velcro reusable cable ties
Forget zip ties; you'll cut them off the next time you swap a monitor. A 50-pack of 6-inch Velcro ties costs under $10 and lets you bundle, unbundle, and rebundle indefinitely. For a standing desk that moves, slack management is critical—use Velcro to coil 8-12 inches of slack at the top of each cable run so the desk can rise without yanking a cable taut from a wall outlet.
5. Cable sleeves (the flexible kind)
Once you have your tray packed and your raceways routed, a 6-foot neoprene cable sleeve hides the umbilical between the tray and the floor. Critically for standing desks, choose a sleeve with a zipper or hook-and-loop closure rather than a fixed weave—you'll need to open it every time you add a cable, and on a desk that travels vertically, the flex pattern stresses fixed-weave sleeves until they fray.
6. Adhesive cable clips
The finishing touch. Single-cable adhesive clips guide stray runs along the desk leg or down the back corner. 3M Command Small Cord Clips are the gold standard—rated for one full year of use and removable with no residue. Place one every 6-8 inches along a vertical run.
7. Power-brick shelf or sling
Heavy laptop power bricks shouldn't dangle from their own cables. An adhesive-mount or clamp-on power brick shelf holds bricks against the underside of the desk, keeping them off the floor and out of the tray. Renters: look for shelves rated for at least 5 lbs and using removable Command-strip mounts.
Comparison: best standing desks to pair with a no-drill cable kit
The kit only works as well as the desk it's attached to. Three desks stand out for renters in 2026—each compatible with clamp-on trays, magnetic channels, and adhesive raceways out of the box.
| Desk | Size | Weight Capacity | Frame Type | Best For |
|---|---|---|---|---|
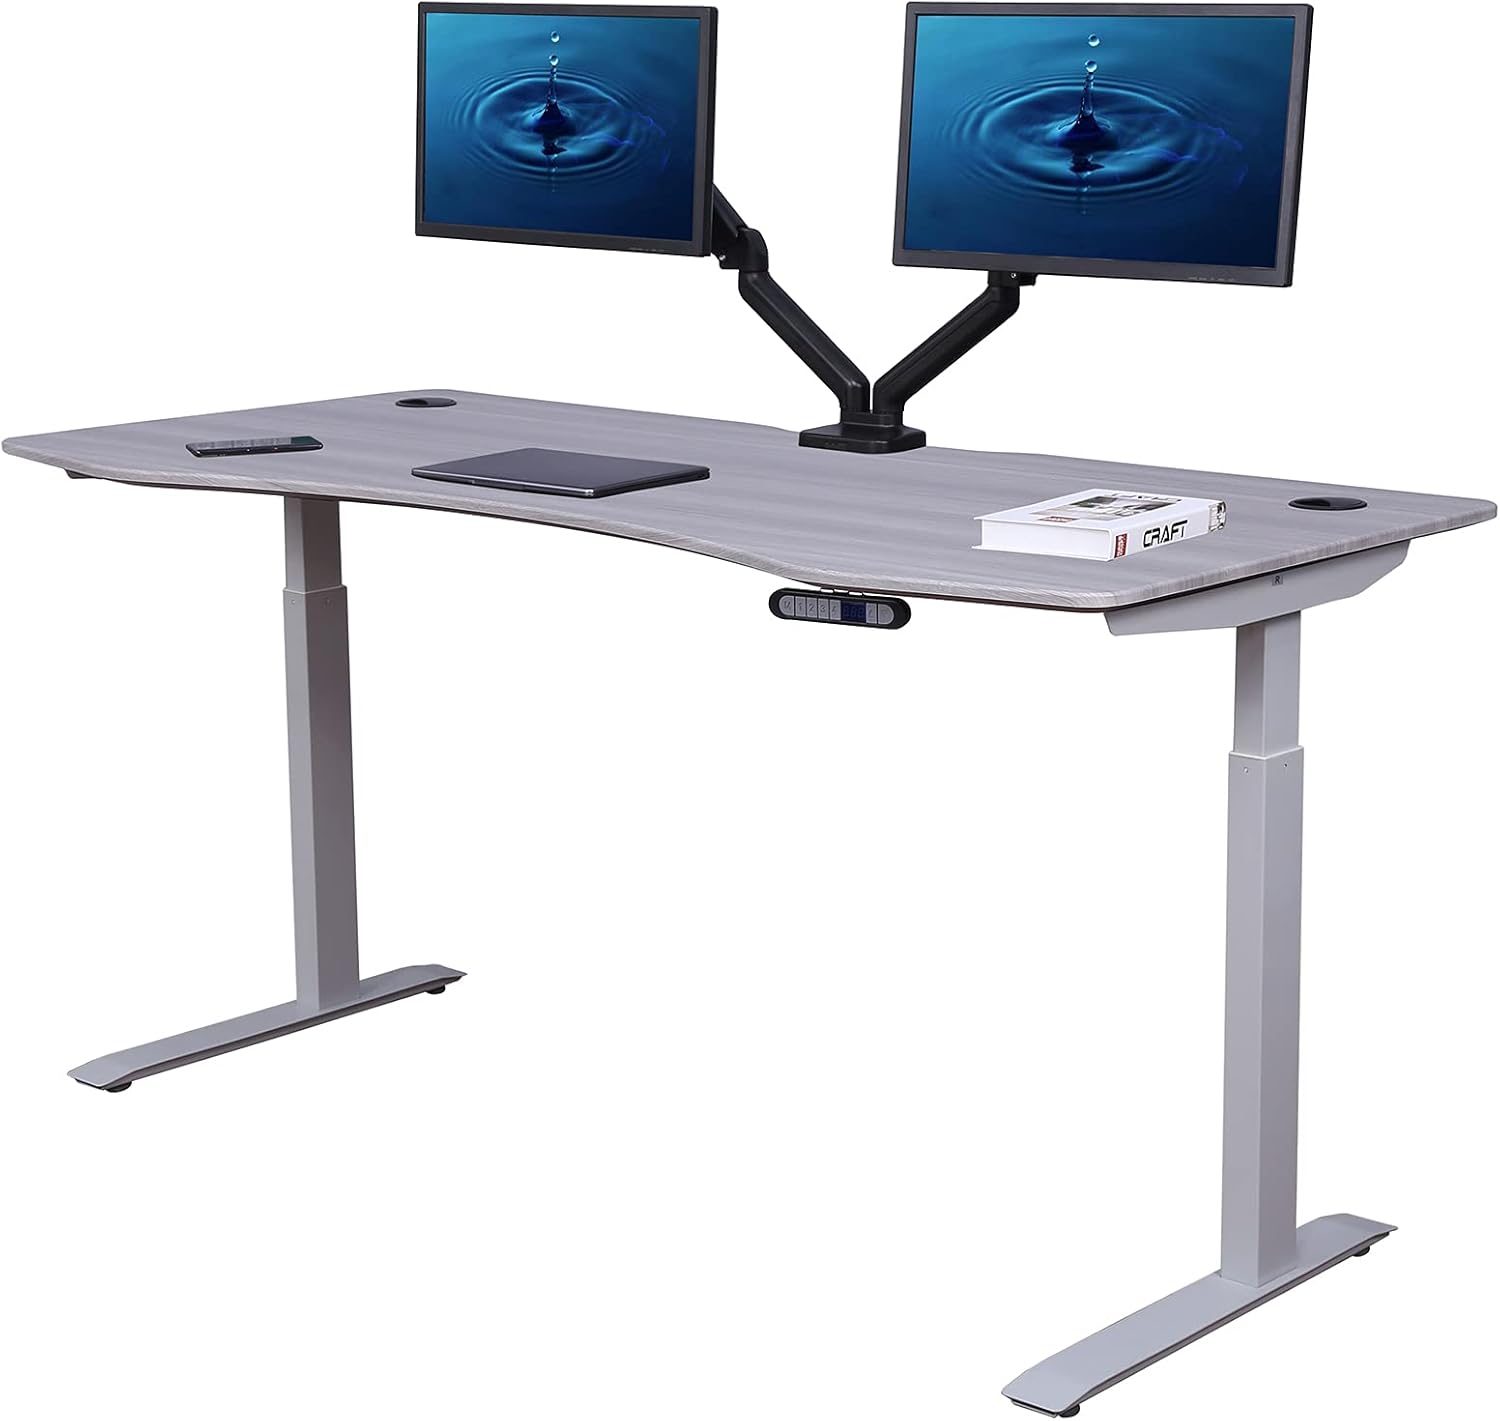
| VIVO Electric 60 x 24 | 60" x 24" | 220 lbs | Steel, dual motor, memory | Power users, heavy gear |
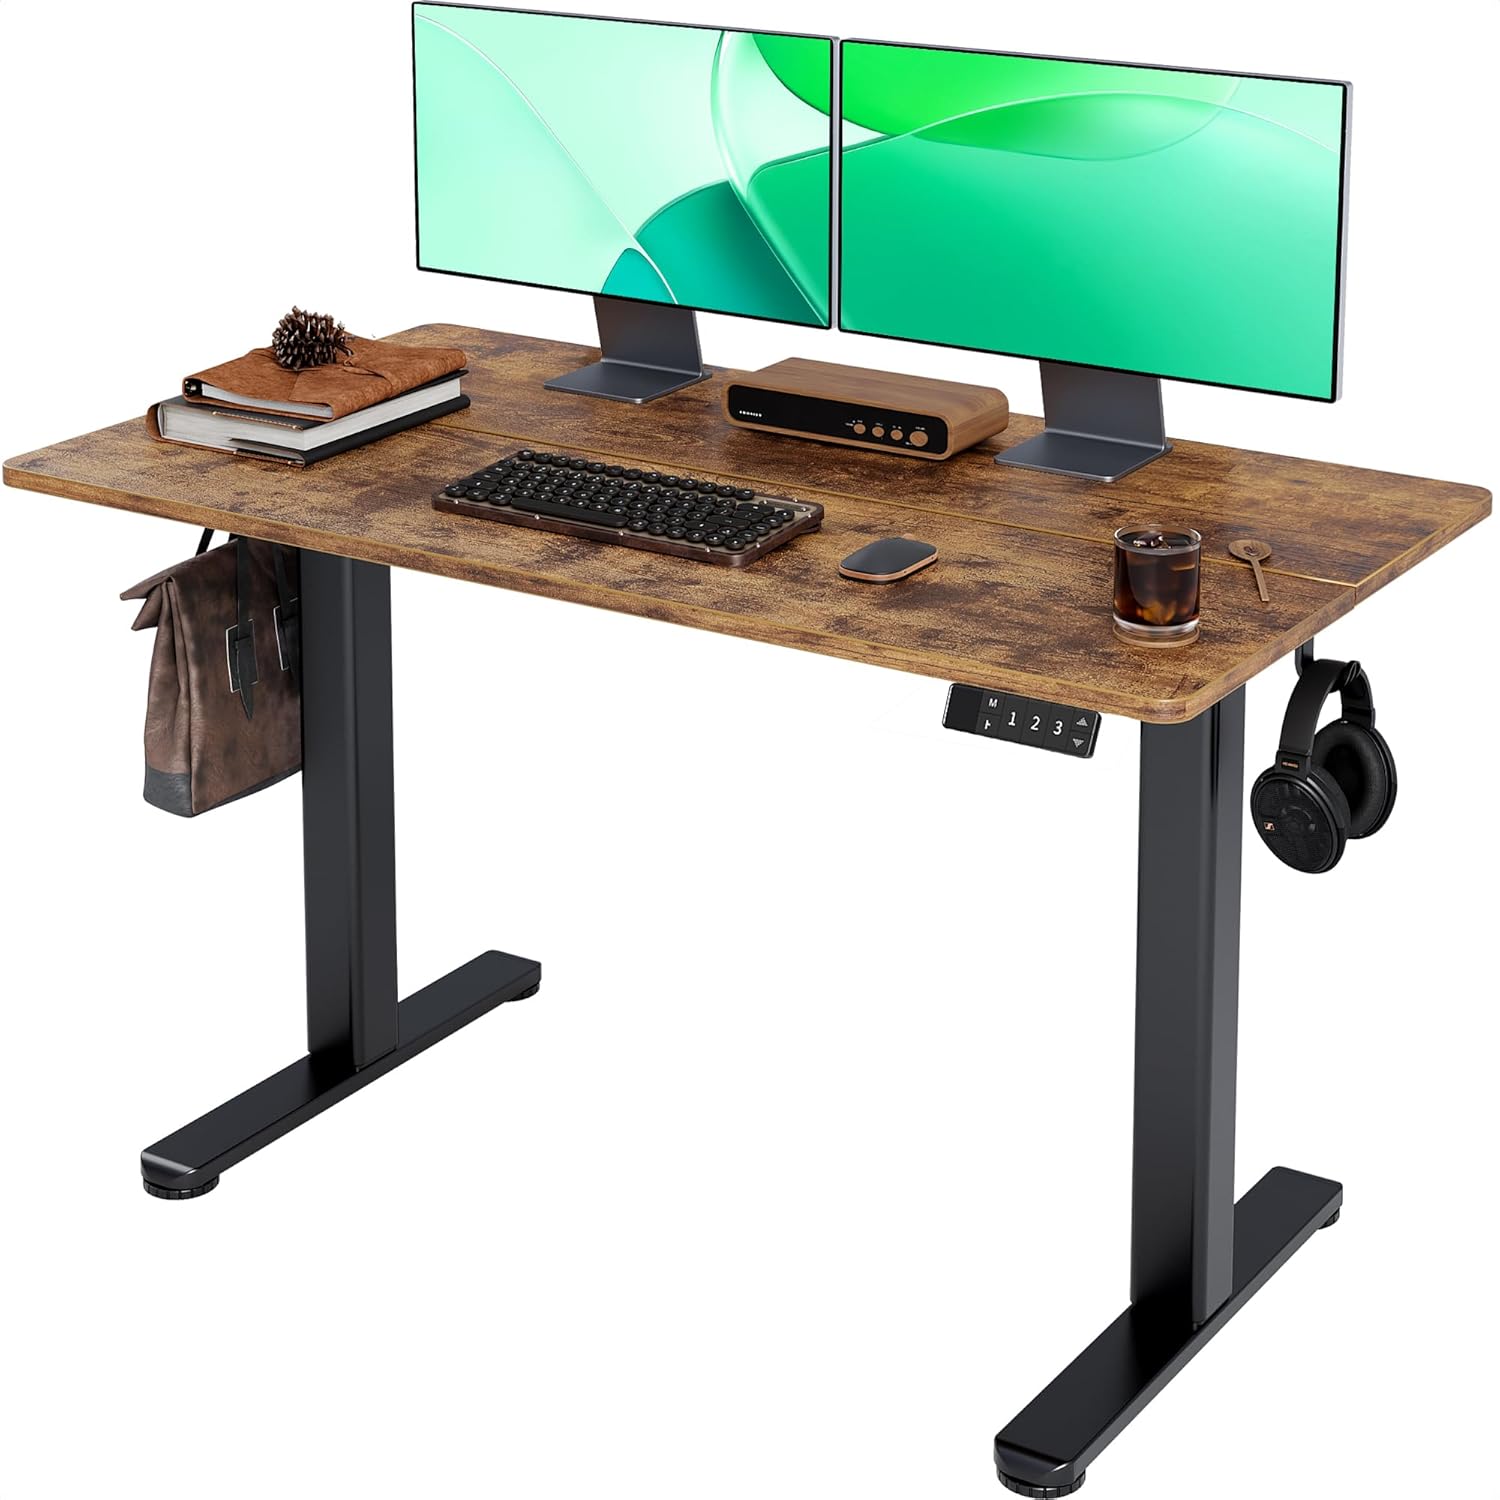
| Veken 47.2" | 47.2" wide | Standard | Steel, wood top | Studios & small apartments |
| ErGear 48 x 24 | 48" x 24" | Standard | Steel, memory presets | Budget-conscious renters |
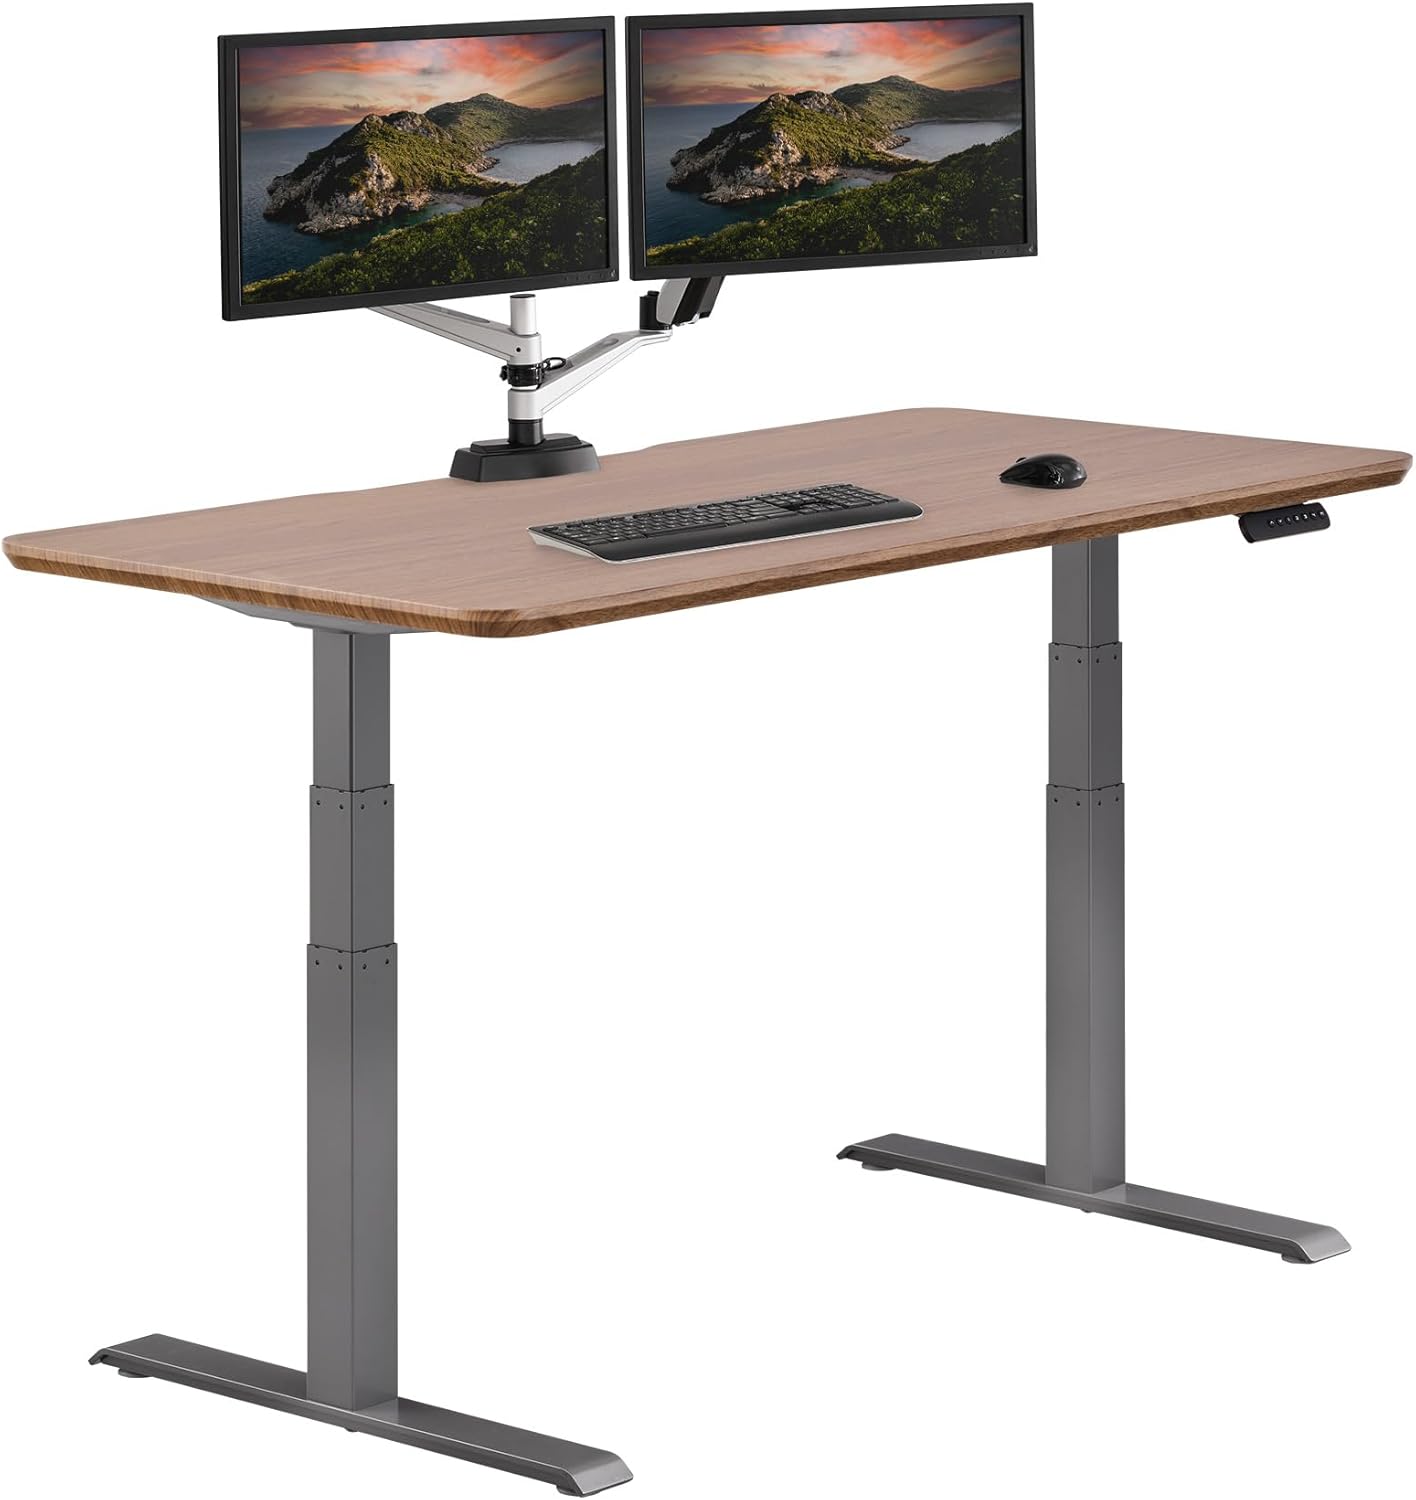
VIVO Electric 60 x 24 Standing Desk — Best for power users
The VIVO 60 x 24 is the workhorse of the renter category. Its 220 lb capacity, dual-motor frame, and four-memory keypad mean you can mount a beefy under-desk tray, a heavy power brick, and even a vertical CPU holder without sag. The crossbar is steel, so magnetic channels stick directly. The 60-inch top gives plenty of room for a clamp-on tray to span the center, where most surge protectors fit. Memory presets matter for renters: you'll reposition the desk frequently as you reconfigure tiny apartments, and saved heights keep ergonomics consistent across moves. View on Amazon: VIVO Electric 60 x 24 Standing Desk.
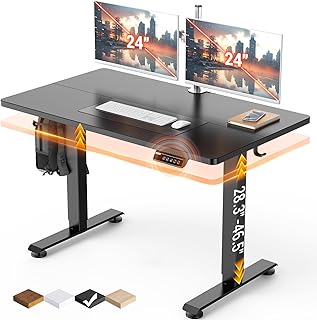
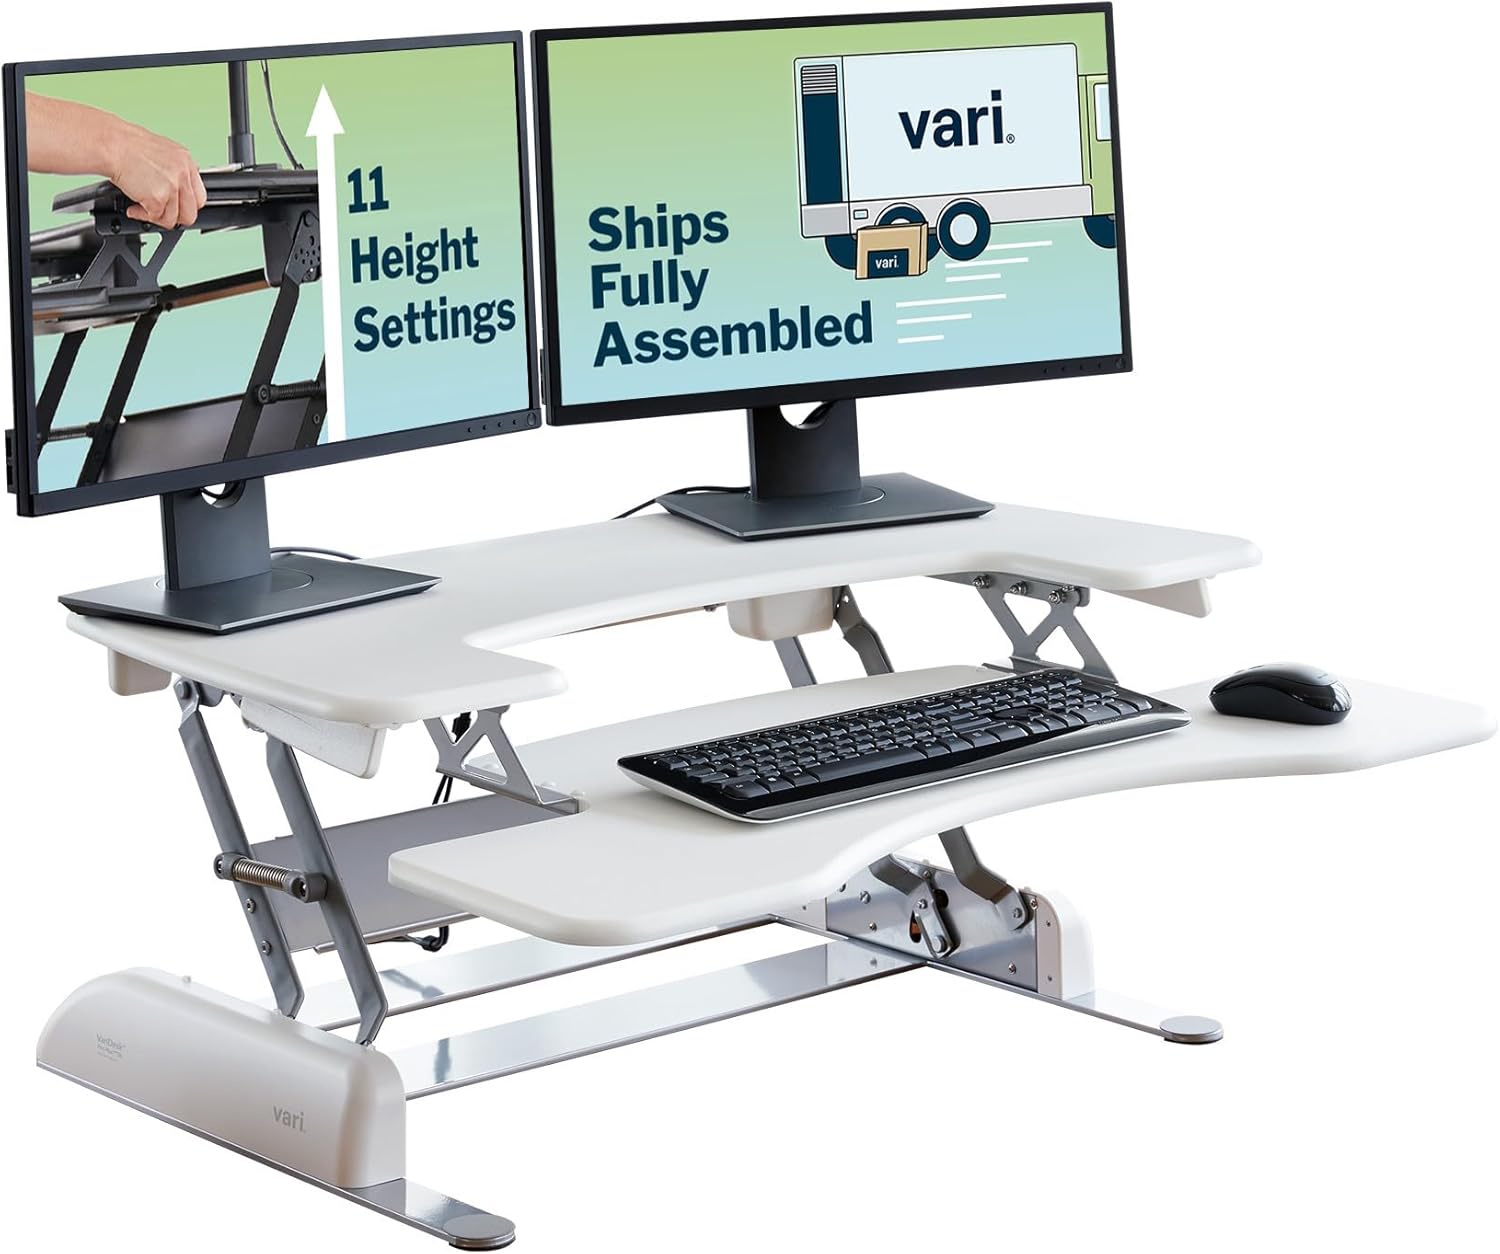
Veken 47.2" Standing Desk — Best for small apartments
If your rental is a studio or one-bedroom where a 60-inch desk simply won't fit, the Veken 47.2" is the answer. The wood desktop gives it a softer aesthetic for living-room dual-use spaces, and the steel frame still accepts magnetic cable channels. At 47 inches, only smaller clamp-on trays (12-16 inches) will fit comfortably—but the slimmer cable load matches the smaller workstation. The compact footprint also makes the desk easier to move between apartments, which matters when your lease ends. View on Amazon: Veken 47.2" Standing Desk.
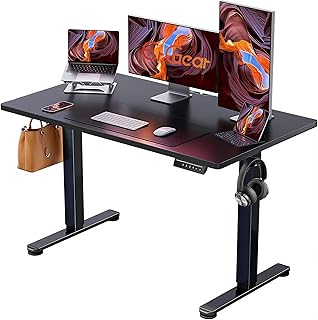
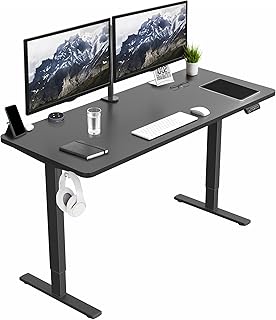
ErGear Electric Standing Desk 48 x 24 — Best budget pick
The ErGear 48 x 24 hits the sweet spot of price and capability for renters on a strict budget. Memory presets, sturdy steel frame, and a 48-inch top compatible with most mid-size cable trays. The flat steel crossbar accepts magnets, and the underside is smooth particle-board ready for adhesive clips. Cable grommet pre-cut on most ErGear models simplifies the drop from desktop to under-desk tray—a huge bonus for a no-drill installation since you skip the step of routing cables around the desk's back edge. View on Amazon: ErGear Height Adjustable Electric Standing Desk.
Step-by-step: installing a no-drill cable kit in under 30 minutes
The order matters. Skipping ahead causes rework. Follow this sequence for a clean standing desk cable management renters no drilling setup that survives daily height changes.
Step 1. Raise your standing desk to its highest position. This stretches every cable to its maximum length—the slack you measure here is the slack you must build into the run. If you wire at sitting height, you'll yank cables out of the wall the first time you stand.
Step 2. Clamp the under-desk tray to the back edge of the desktop, roughly centered. Most spring-clamp trays grip 1-2 inches of overhang and need no tools. Place your surge protector inside, plug in your power brick, and route the power brick's input cable down to the wall.
Step 3. Drop each device cable (monitor, laptop, lamp, peripherals) into the tray and plug into the surge strip. Coil 8-12 inches of slack per cable using a Velcro tie. This slack is non-negotiable for height-adjustable desks.
Step 4. Bundle the cables that descend from the tray to the floor inside a zipper cable sleeve. The sleeve should hang loose, not taut—again, slack matters.
Step 5. Use adhesive raceways along baseboards to guide the bundle to the wall outlet. Press firmly for 30 seconds; let cure for 24 hours before stress-loading.
Step 6. Lower the desk to its lowest position. Watch for any cable that tightens or pops out of the raceway. Adjust slack and bundle accordingly, then cycle the desk up and down three or four times to confirm.
For more on minimizing visual clutter once cables are managed, see our guide on no-drill monitor arms for renters.
Common mistakes that wreck a no-drill setup
Using cheap adhesive in summer. Generic acrylic adhesive softens above 85°F. If your apartment isn't air-conditioned, only 3M VHB or Command-rated adhesive will hold a loaded raceway through July. The few extra dollars are non-negotiable.
Bundling the motor cable with data cables. The motor cable that runs from your desk's keypad to the controller box should never be bundled with low-voltage USB or audio cables. Motor cables emit electromagnetic interference that can degrade signal. Keep them separated by at least 2 inches inside the tray.
Forgetting cable slack. A desk that travels 15 inches vertically needs 15 inches of cable slack, minimum. Most failures happen on the third or fourth height change when a cable that felt loose enough suddenly disconnects under tension.
Skipping the surge protector mount. A surge strip rattling around the bottom of a clamp-on tray will eventually fall out. Velcro the strip to the tray base with 3M Dual Lock or similar—reversible and rock-solid.
Want the broader picture of a quiet, renter-friendly home office? Check our guides to quiet standing desks for apartment walls and anti-fatigue mats for tiny rentals.
Frequently Asked Questions
Can I really manage standing desk cables without any drilling at all?
Yes—a full no-drill setup uses clamp-on trays for the main cable hub, magnetic channels for routing along the steel frame, adhesive raceways for wall and baseboard runs, and 3M Command clips for stray cables. The only tools required are scissors for trimming Velcro and possibly a small screwdriver for the clamp-on tray's tension screw. Modern adhesives hold loaded systems for years if installed properly.
Will adhesive cable raceways damage my apartment walls when I move out?
Properly rated adhesives—3M Command and similar—are explicitly designed for renter use and remove cleanly when pulled slowly downward at a 45-degree angle. The catch: cheap raceways often use generic acrylic adhesive that does leave residue. Stick to brands that explicitly advertise damage-free or Command-strip compatible backing, and your walls will be deposit-ready.
Do magnetic cable channels work on every standing desk?
They work on any desk with a steel frame, which includes the VIVO, Veken, and ErGear models above and virtually every electric standing desk under $1,000. They won't work on solid wood crossbars (rare) or aluminum frames (mostly found on premium $1,500+ desks). Test by sticking a fridge magnet to the underside of your desk's crossbar before buying a magnetic channel system.
How much cable slack do I need on a height-adjustable desk?
Match your slack to your desk's travel range. Most electric standing desks travel 15-20 inches vertically, so plan for 18-24 inches of usable slack on every cable that connects desktop devices to wall outlets. Coil this slack with Velcro ties at the top of the cable run, near the under-desk tray, so it spools and unspools cleanly as the desk moves.
What's the best under-desk cable tray for a clamp-on installation?
Look for steel mesh construction (not plastic, which warps over time), spring-clamp grip (faster than screw clamps), and a minimum 16-inch span. Brands like J Channel, Stand Steady, and IKEA's SIGNUM are renter favorites. The tray should hold at least 7 lbs to comfortably handle a surge protector plus a laptop brick plus a USB hub.
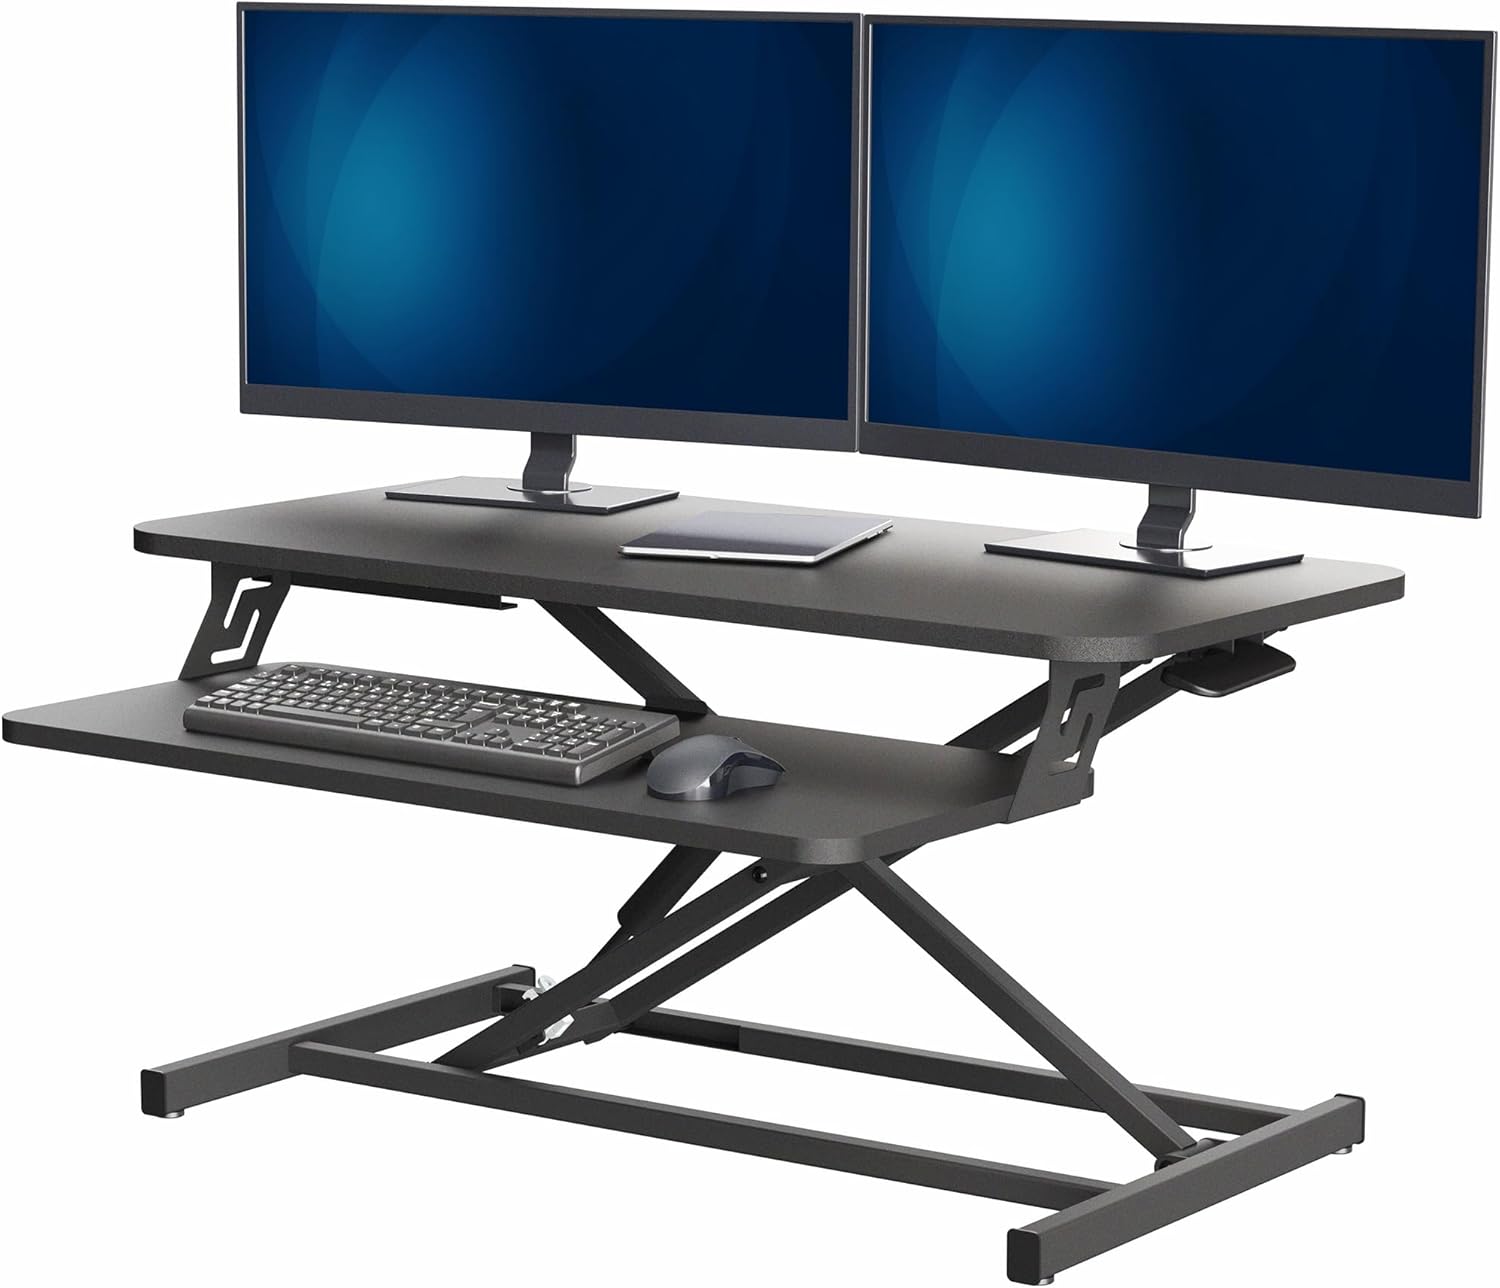
Can I use this kit on a standing desk converter that sits on top of a regular desk?
Yes, with adjustments. Converters move only the work surface, not the desktop they sit on, so route cables to the static desktop below using adhesive clips, then use a flexible cable spine (the kind with articulated plastic links) to handle the converter's range of motion. Magnetic channels won't stick to most converter surfaces, so adhesive becomes your primary tool.
How long do no-drill cable management installations last?
A properly installed system—correct adhesive, cured 24 hours before loading, kept out of temperature extremes—lasts 2-4 years before any component needs replacement. Velcro ties last indefinitely; adhesive raceways typically need re-sticking after 18-24 months; magnetic channels never degrade. The biggest failure mode is overloading clamp-on trays beyond their rated capacity, so check the weight rating before stuffing one with three power bricks.
Key Takeaways
- Choosing the right standing desk cable management renters no drilling means matching capacity and output ports to your actual devices
- Always check actual watt-hours (Wh), not just watts — runtime depends on Wh, not peak output
- Also covers: clamp on cable tray standing desk
- Also covers: no screw cable management sit stand
- Also covers: renter friendly desk cable organizer
- Compare price-per-Wh across models to find the best value for your budget