To prevent standing desk cables from pinching when lowering the desk, the core principle is simple: give every cable enough slack to follow the desk through its full travel, route it so it cannot wander into the scissor mechanism or column joints, and anchor it to the underside of the worktop so it moves with the desk rather than getting trapped between moving parts. In practice that means a cable tray, a vertical drop sleeve, and a service loop sized to your lowest seated height. Do those three things and pinching, fraying, and mid-lower jams disappear almost overnight.
Below is the full troubleshooting and prevention guide, including which standing desks are easiest to wire safely, the accessories that matter, and the small habits that keep your setup from chewing through HDMI and USB-C cables every six months.
Why Standing Desk Cables Get Pinched in the First Place
Pinching almost never happens at the top of the desk's travel; it happens during descent, when the legs telescope inward and any cable resting on the floor suddenly has too much length. That extra slack gets sucked toward the column, looped around a foot, or dragged across the cross-brace, and the next time you raise the desk it shears against a metal edge.
The four most common pinch points are:
- Inside the leg column — cables left dangling next to a telescoping leg get caught between the inner and outer tube.
- Under the cross-support beam — a power strip mounted too far back can hang cords directly into the lift path.
- Behind a wall or cabinet — if the desk is pushed against a wall, descending cables get jammed between the desk frame and the baseboard.
- At the floor anchor — a surge protector on the ground creates a fixed point that fights the desk on every lower cycle.
Once you understand that pinching is really a slack management problem, the fixes get easy. You want enough cable to reach the desk's highest setting, but that same length needs a place to go when the desk is at its lowest setting — and that place is not the floor.
The Three-Layer System to Prevent Standing Desk Cables From Pinching
I have wired more than a dozen sit-stand desks over the years, and the setups that never pinch all follow the same three-layer pattern: a tray under the desk, a flexible sleeve that drops to the floor, and a wall anchor that takes the strain. Here is how each layer works.
Layer 1: Under-Desk Cable Tray
Mount a metal mesh or J-channel tray to the underside of the worktop, as close to the back edge as the frame allows. Everything that lives on the desk — monitor power, dock, hub, speaker amp — plugs into a power strip inside the tray. The strip moves with the desk, so its cords never see relative motion against the legs.
Layer 2: Vertical Drop Sleeve
From the tray, run one fabric or zipper sleeve straight down to the floor. This sleeve carries only two things: the single AC cord that feeds the tray's power strip, and any Ethernet or audio cable that has to reach a wall jack. Because everything is bundled, you only have one moving "snake" to manage instead of eight individual cords.
Layer 3: Floor or Wall Anchor
The bottom of the sleeve should terminate at a fixed anchor — ideally a wall outlet directly behind the desk, or a floor-mounted clip about 18 inches behind the desk's lowest position. This anchor lives outside the lift path, so descending cables curl away from the legs instead of toward them.
Choosing a Desk That Makes Cable Pinching Easier to Avoid
Not all standing desks are equally cable-friendly. Frames with a wide back-edge channel, pre-drilled grommet holes, and a control box mounted to one side (rather than the center) give you far more room to route slack. If you are still shopping, lean toward models with at least 24 inches of depth so a tray fits behind your monitor stand, and look for memory presets — fewer accidental travel cycles means fewer chances for a cord to wander.
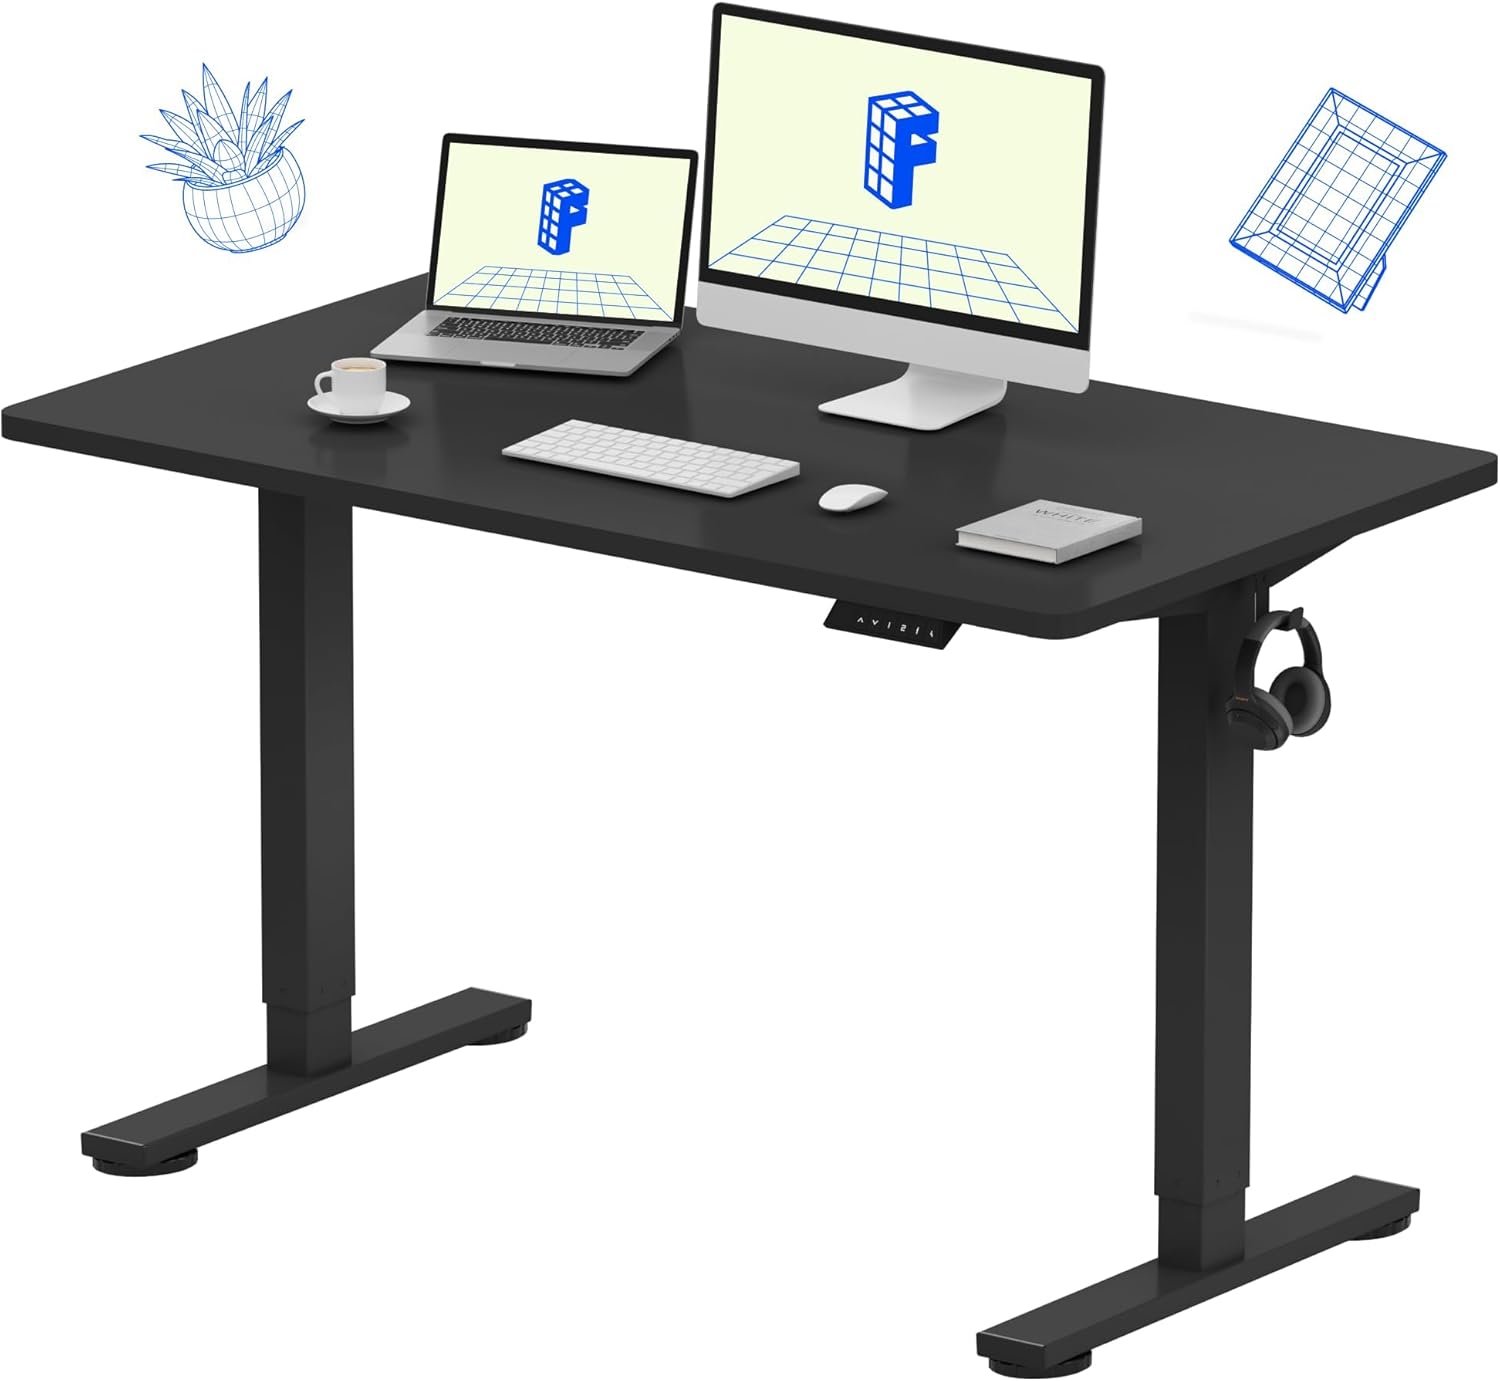
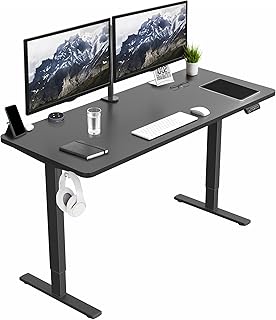
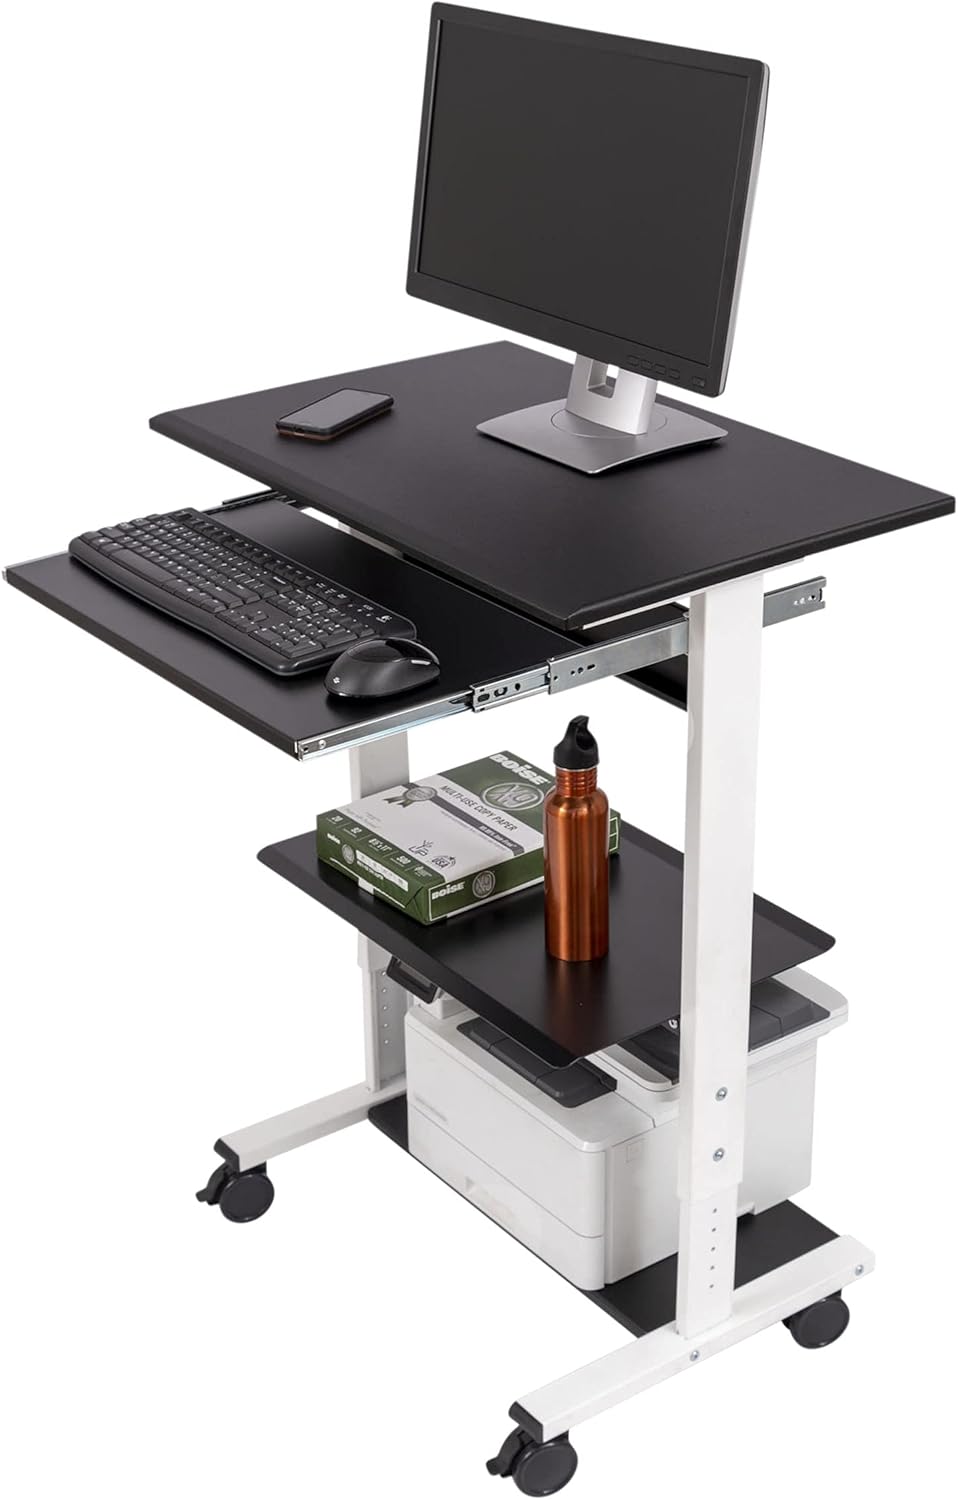
VIVO Electric 60 x 24 in Standing Desk
The VIVO Electric 60 x 24 in Standing Desk is my default recommendation when readers ask which frame is most forgiving for cable management. The 60-inch top gives you room for a wide tray, the dual-motor frame has a clean rear cross-brace with no protruding bolts to snag cords, and the 220-lb capacity means you can mount a heavier metal tray without flex. Memory height presets reduce the number of partial-travel events that tend to snag loose cables.
Veken 47.2" Standing Desk With Wood Desktop
For smaller home offices, the Veken 47.2" Standing Desk is a good compact choice. The narrower footprint actually helps with pinching because there is less surface area for cords to wander across, and the wood desktop accepts adhesive cable clips well — useful if you do not want to drill into the underside. Just plan your drop sleeve on the side opposite the control box.
ErGear Height Adjustable Electric Standing Desk
The ErGear 48 x 24 Inch Electric Standing Desk hits the sweet spot for mid-size setups. The 48-inch top works for a single ultrawide or two 24-inch monitors, the memory presets cut down on incremental height changes, and the rear frame leaves enough clearance to mount a tray without interfering with the lift mechanism. I have found this one especially friendly for under-desk PC mounts, which is helpful because shifting your tower off the floor eliminates one of the biggest pinch sources.
Quick Comparison: Cable-Friendly Standing Desks for 2026
| Desk | Top Size | Best For | Cable Management Notes |
|---|---|---|---|
| VIVO Electric 60 x 24 | 60" x 24" | Dual-monitor and multi-device setups | Widest tray clearance; 220-lb capacity supports heavier metal trays |
| Veken 47.2" Wood Desktop | 47.2" wide | Compact home offices | Solid wood underside accepts adhesive clips and small trays |
| ErGear 48 x 24 | 48" x 24" | Single ultrawide or dual 24" monitors | Clean rear frame; memory presets reduce incremental travel |
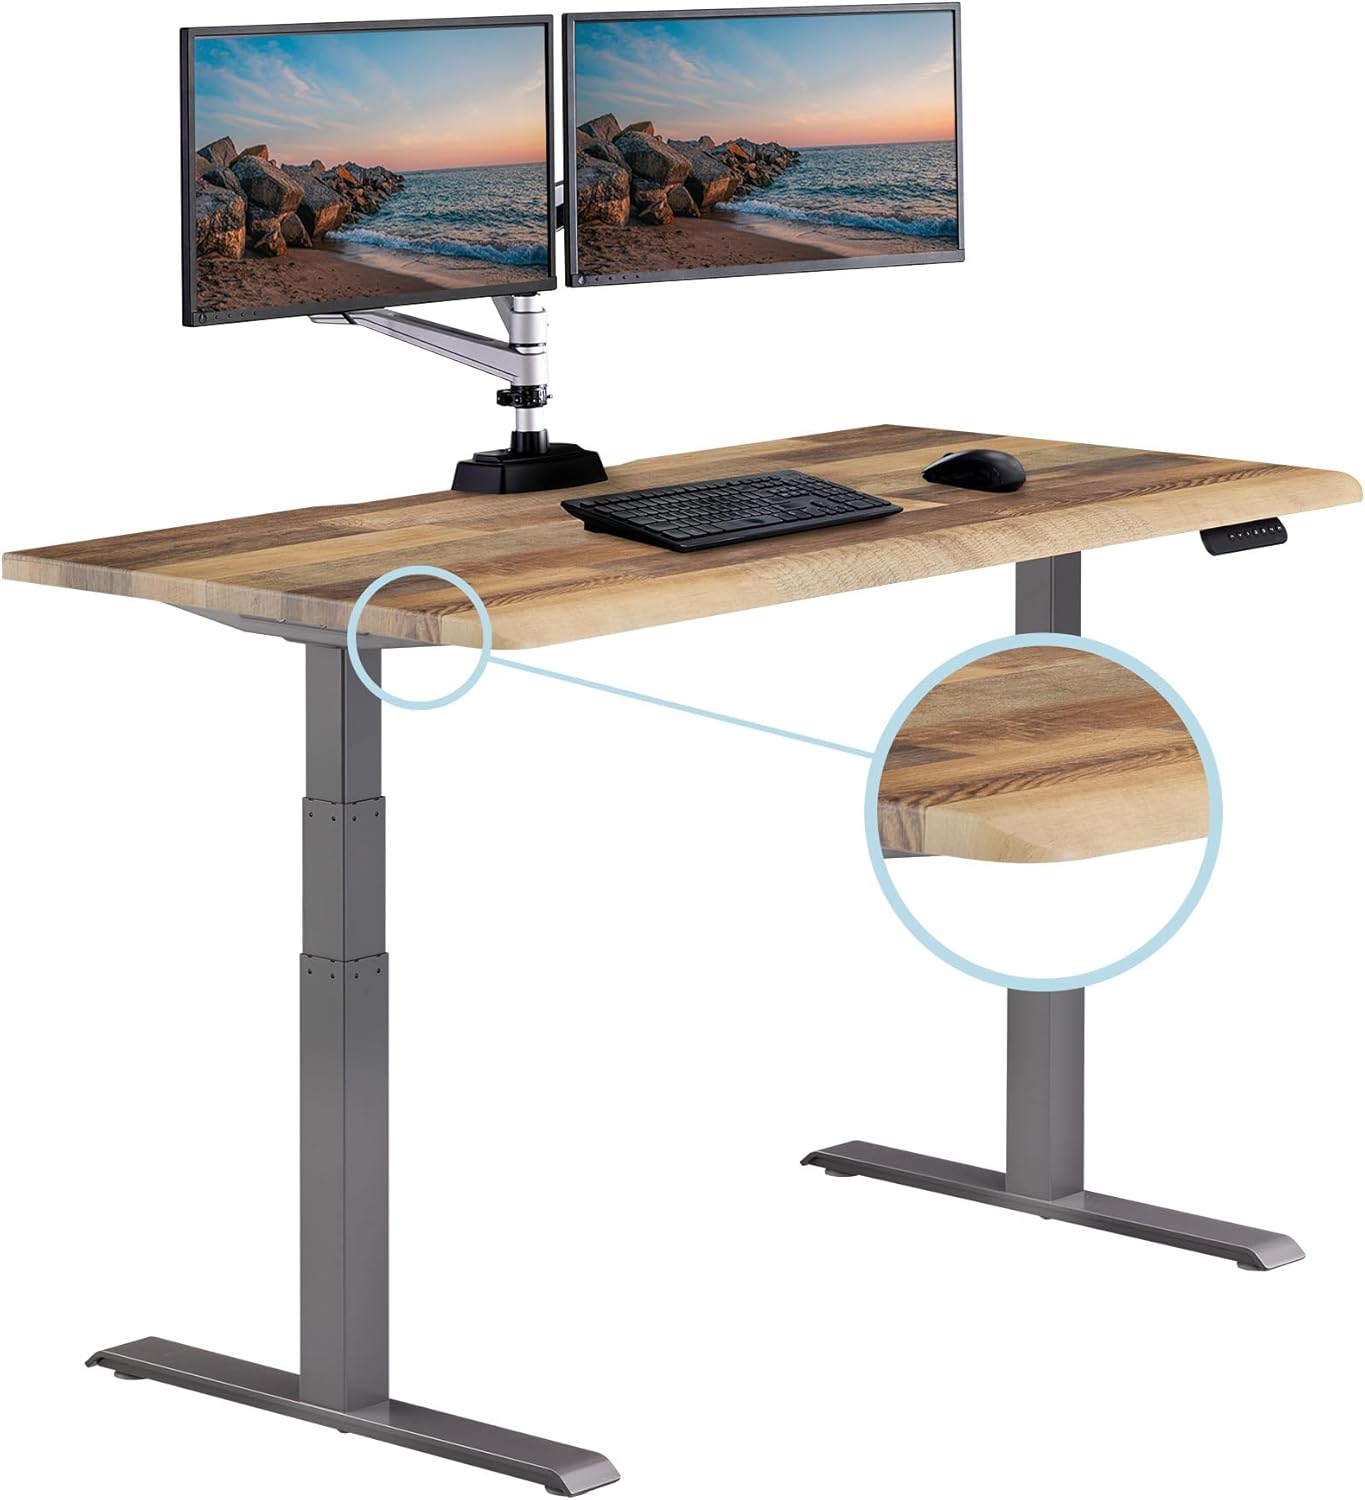
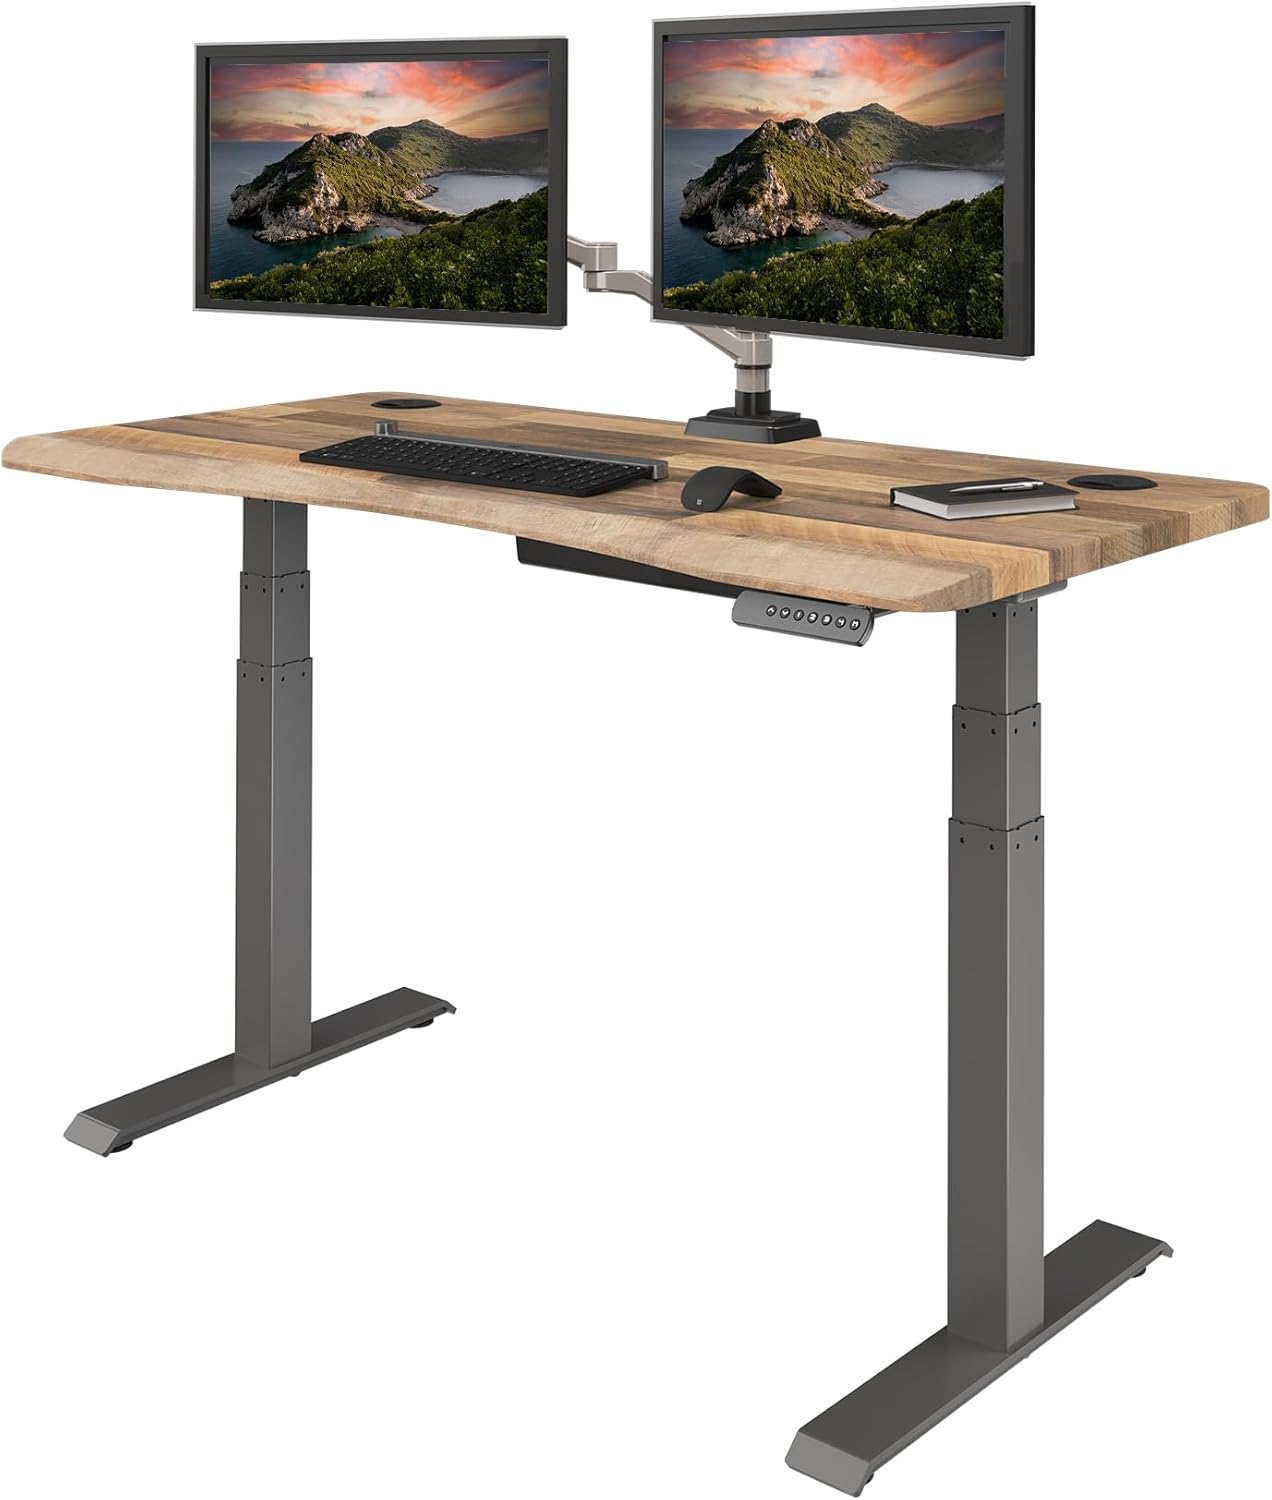
Step-by-Step: How to Wire a Sit-Stand Desk So Cables Never Pinch
Here is the exact sequence I use for new installs. Done in this order, it takes about 45 minutes and is the most reliable way to prevent standing desk cables from pinching over the long term.
- Raise the desk to its maximum height first. Measure the distance from the underside of the worktop to the floor — this is your worst-case cable length.
- Lower to the minimum seated height. Note how much cable will become "extra" at the bottom of travel; this is the slack you need to park somewhere safe.
- Mount a tray to the underside of the desk. Center it on the back third of the worktop, leaving at least three inches of clearance to the control box.
- Install your power strip inside the tray. Every device that lives on the desk plugs in here, not into a wall outlet.
- Run one drop sleeve from the tray to the floor. Bundle only the cords that must travel between desk and wall — typically just AC and Ethernet.
- Anchor the bottom of the sleeve behind the desk. A wall outlet is best; otherwise use an adhesive floor clip about 18 inches back from the desk's lowest leg position.
- Cycle the desk through its full range three times. Watch the sleeve. If it bunches, kinks, or tries to wrap a leg, shorten or reroute before you walk away.
Accessories That Actually Help
You do not need a $200 cable kit. A basic under-desk tray, a single 36-inch fabric sleeve with a hook-and-loop closure, a four-pack of adhesive cable clips, and a short surge-protected power strip with a flat plug will cover almost any sit-stand setup. Spend the saved money on a slightly longer monitor power cord and a flat HDMI — flat cables flex more gracefully through the drop sleeve than round ones.
If you want to go further, see our related guides on the best cable management trays for standing desks and how to mount a power strip under a sit-stand desk for product-specific picks.
Habits That Keep Your Setup Safe Long-Term
Cable management is not a one-time job. Every time you add a peripheral — a new webcam, a USB hub, a desk light — re-check the drop sleeve. Add the new cord inside the sleeve, not draped over the edge. Once a month, lower the desk to its minimum and look underneath: if any cord touches the floor with tension, shorten its loop. And avoid the temptation to plug a single device directly into a wall outlet "just this once." That one cord is the one that always gets pinched.
For more setup advice, our standing desk ergonomics checklist covers monitor height, keyboard tilt, and anti-fatigue mats — all of which interact with how you route cables.
Frequently Asked Questions
What is the best way to prevent standing desk cables from pinching on a dual-motor desk?
Dual-motor desks travel faster and have slightly more leg flex than single-motor models, so the drop sleeve matters even more. Use a fabric sleeve with a zipper closure, anchor it to the wall behind the desk, and keep the bundle within about two inches of the back edge of the worktop. The faster the desk descends, the less time you have to notice a wandering cord.
Can I just use zip ties instead of a cable tray?
You can, but zip ties create rigid bundles that flex poorly. If you go this route, use reusable hook-and-loop straps instead — they let you re-dress the bundle when you add gear, and they will not slowly cut into the cable jacket the way overtightened plastic ties do.
Why does my monitor cable keep getting yanked when I lower the desk?
Almost always because the monitor's power brick is sitting on the floor. The brick acts as a fixed anchor, so when the desk descends the cable has nowhere to go and gets dragged into the leg path. Move the brick into the under-desk tray and the problem disappears.
How much slack should I leave in each cable?
Enough to reach the highest desk position plus about 15 percent. Any more and the extra length will coil around the legs on descent; any less and you risk yanking the plug at the top of travel. If you are unsure, raise the desk to maximum, hold the cable in place at the wall outlet, and add a small service loop in the tray.
Will a cable tray fit on any standing desk?
Most under-desk trays clamp or screw into the underside of the worktop and fit any flat surface at least 18 inches deep. The three desks above all accommodate standard trays without modification. If your desktop is thinner than 0.7 inches, use a clamp-on tray rather than screws to avoid splitting the wood.
Do I need a special power strip for a sit-stand desk?
A flat-plug, surge-protected strip with at least six outlets is ideal. Flat plugs sit flush against the tray, and surge protection guards against the small voltage spikes that can occur when the desk's motor cycles. Avoid daisy-chaining strips — one strip in the tray, one cord to the wall.
What should I do if a cable already got pinched and the jacket is damaged?
Replace it. A nicked HDMI or USB-C cable will work intermittently and can short against the desk frame, which in rare cases damages the connected device. Cables are cheap; monitors and laptops are not. After replacing, re-route through the drop sleeve so the new cable does not meet the same fate.
Get the three-layer system in place once and you will not think about cable pinching again — your desk will glide through its full range, your cords will follow along, and your monitors will stay plugged in for years instead of months.
Key Takeaways
- Choosing the right prevent standing desk cables from pinching means matching capacity and output ports to your actual devices
- Always check actual watt-hours (Wh), not just watts — runtime depends on Wh, not peak output
- Also covers: uplift desk cable pinch fix
- Also covers: jarvis desk cable management lower
- Also covers: stop cables snagging standing desk
- Compare price-per-Wh across models to find the best value for your budget